Importing K-1 Data
The following are instructions for importing Schedule K-1 information from 1041, 1065, and 1120S returns. You can import K-1 data into the following types of ATX returns: 1040, 1040NR, 1041, 1065, 1120, and 1120S returns.
ATX is designed for business returns with fewer than 1,000 K-1s.
New Returns
To import K-1 information:
You must have a completed return with Schedule K-1 data. See Creating Returns Using the Main Information Worksheet.
- Create a new return (supported return types are listed at the beginning of this topic).
- With the new return open, click the Returns menu.
- Expand the Import Data fly-out menu; then, select K-1 Data.
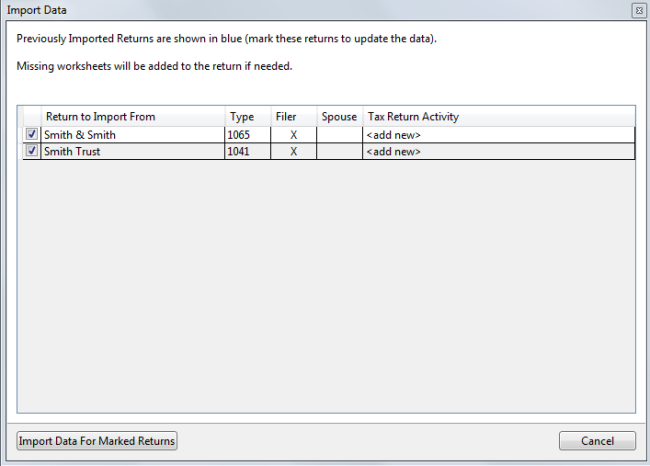
Import Data dialog box
All returns are checked by default. If you do not want to import data from one or more of these returns, deselect the check box.
- Click Import Data For Marked Returns to import the K-1 Data.
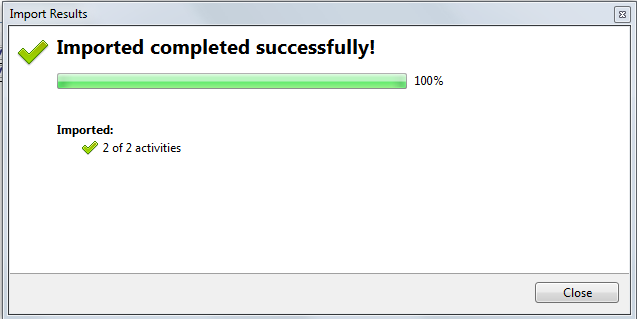
Import Results progress dialog box
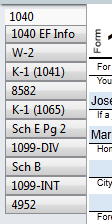
The information from the matching 1041, 1065, or 1120S return(s) is added to the applicable K-1 Input Worksheet(s) in the new return. The corresponding forms are added to the new return:
If you make subsequent adjustments to K-1 data on 1041, 1065, and 1120S returns, the system will notify you of changes when you open the corresponding new return. At that time, you'll be given the opportunity to update K-1 information.
Messages You May Receive
The SSN and/or EIN must be entered on the new return in order to begin importing data. If it is not in place, you'll receive a message dialog box. You'll also be notified if the system cannot locate any 1041, 1065, or 1120S returns with SSNs or EINs corresponding to the 1040 or 1040NR return.
Updating K-1 Information on an Existing Return
To update imported K-1 information on an existing return:
- Make the changes to the Sch K-1 form in the 1041, 1065, or 1120S return.
- Open the existing return.
- With the return open, click the Returns menu.
- Expand the Import Data fly-out menu; then, select K-1 Data.
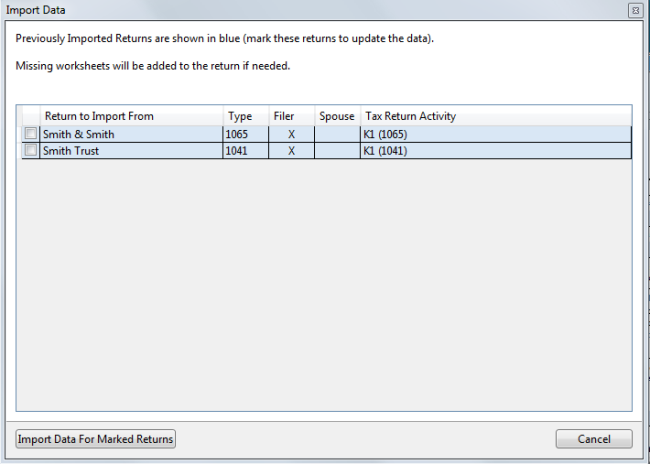
Import Data dialog box
Previously imported returns are shown in blue.
- Select the check boxes for the returns you want import.
- Click Import Data For Marked Returns.
ATX loads the new data into the new return.
Opening a Return When Associated K-1 Data Has Changed
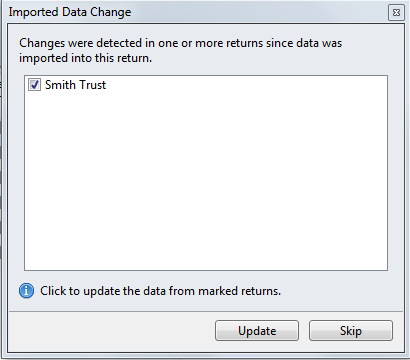
Imported Data Change dialog box
Click Update to import the changed data into the destination return, or click Skip to open the return without updating the K-1 data.
Unavailable Source Returns or Forms Within Source Returns
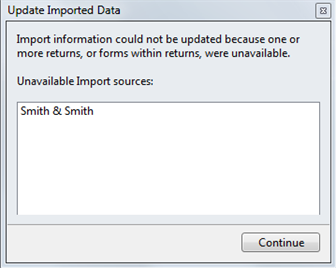
Update Imported Data message
Click Continue to open the return without updating the data.
Amended Source Returns
If a source return is amended, both the original and the amended return appear in the Import Data Change dialog box. Select the Amended return and click Update.
If you try to select the original source return, you'll receive a Duplicate EIN message:
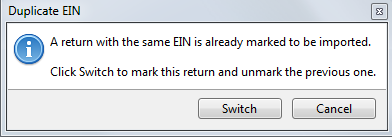
Duplicate EIN message
Click Switch to select the Amended return instead.
See Also: